
I built this CNC milling machine in early in 2014 with plans from Solsylva. The cutting space is approximately 10″ x 9″ x 4″. I chose this size because I wanted it to fit on my workbench and also be able to cut metal. The total build time was approx 36 hours spread out over a month. Thanks to the good plans I had no major issues durring the build.
Day 1:
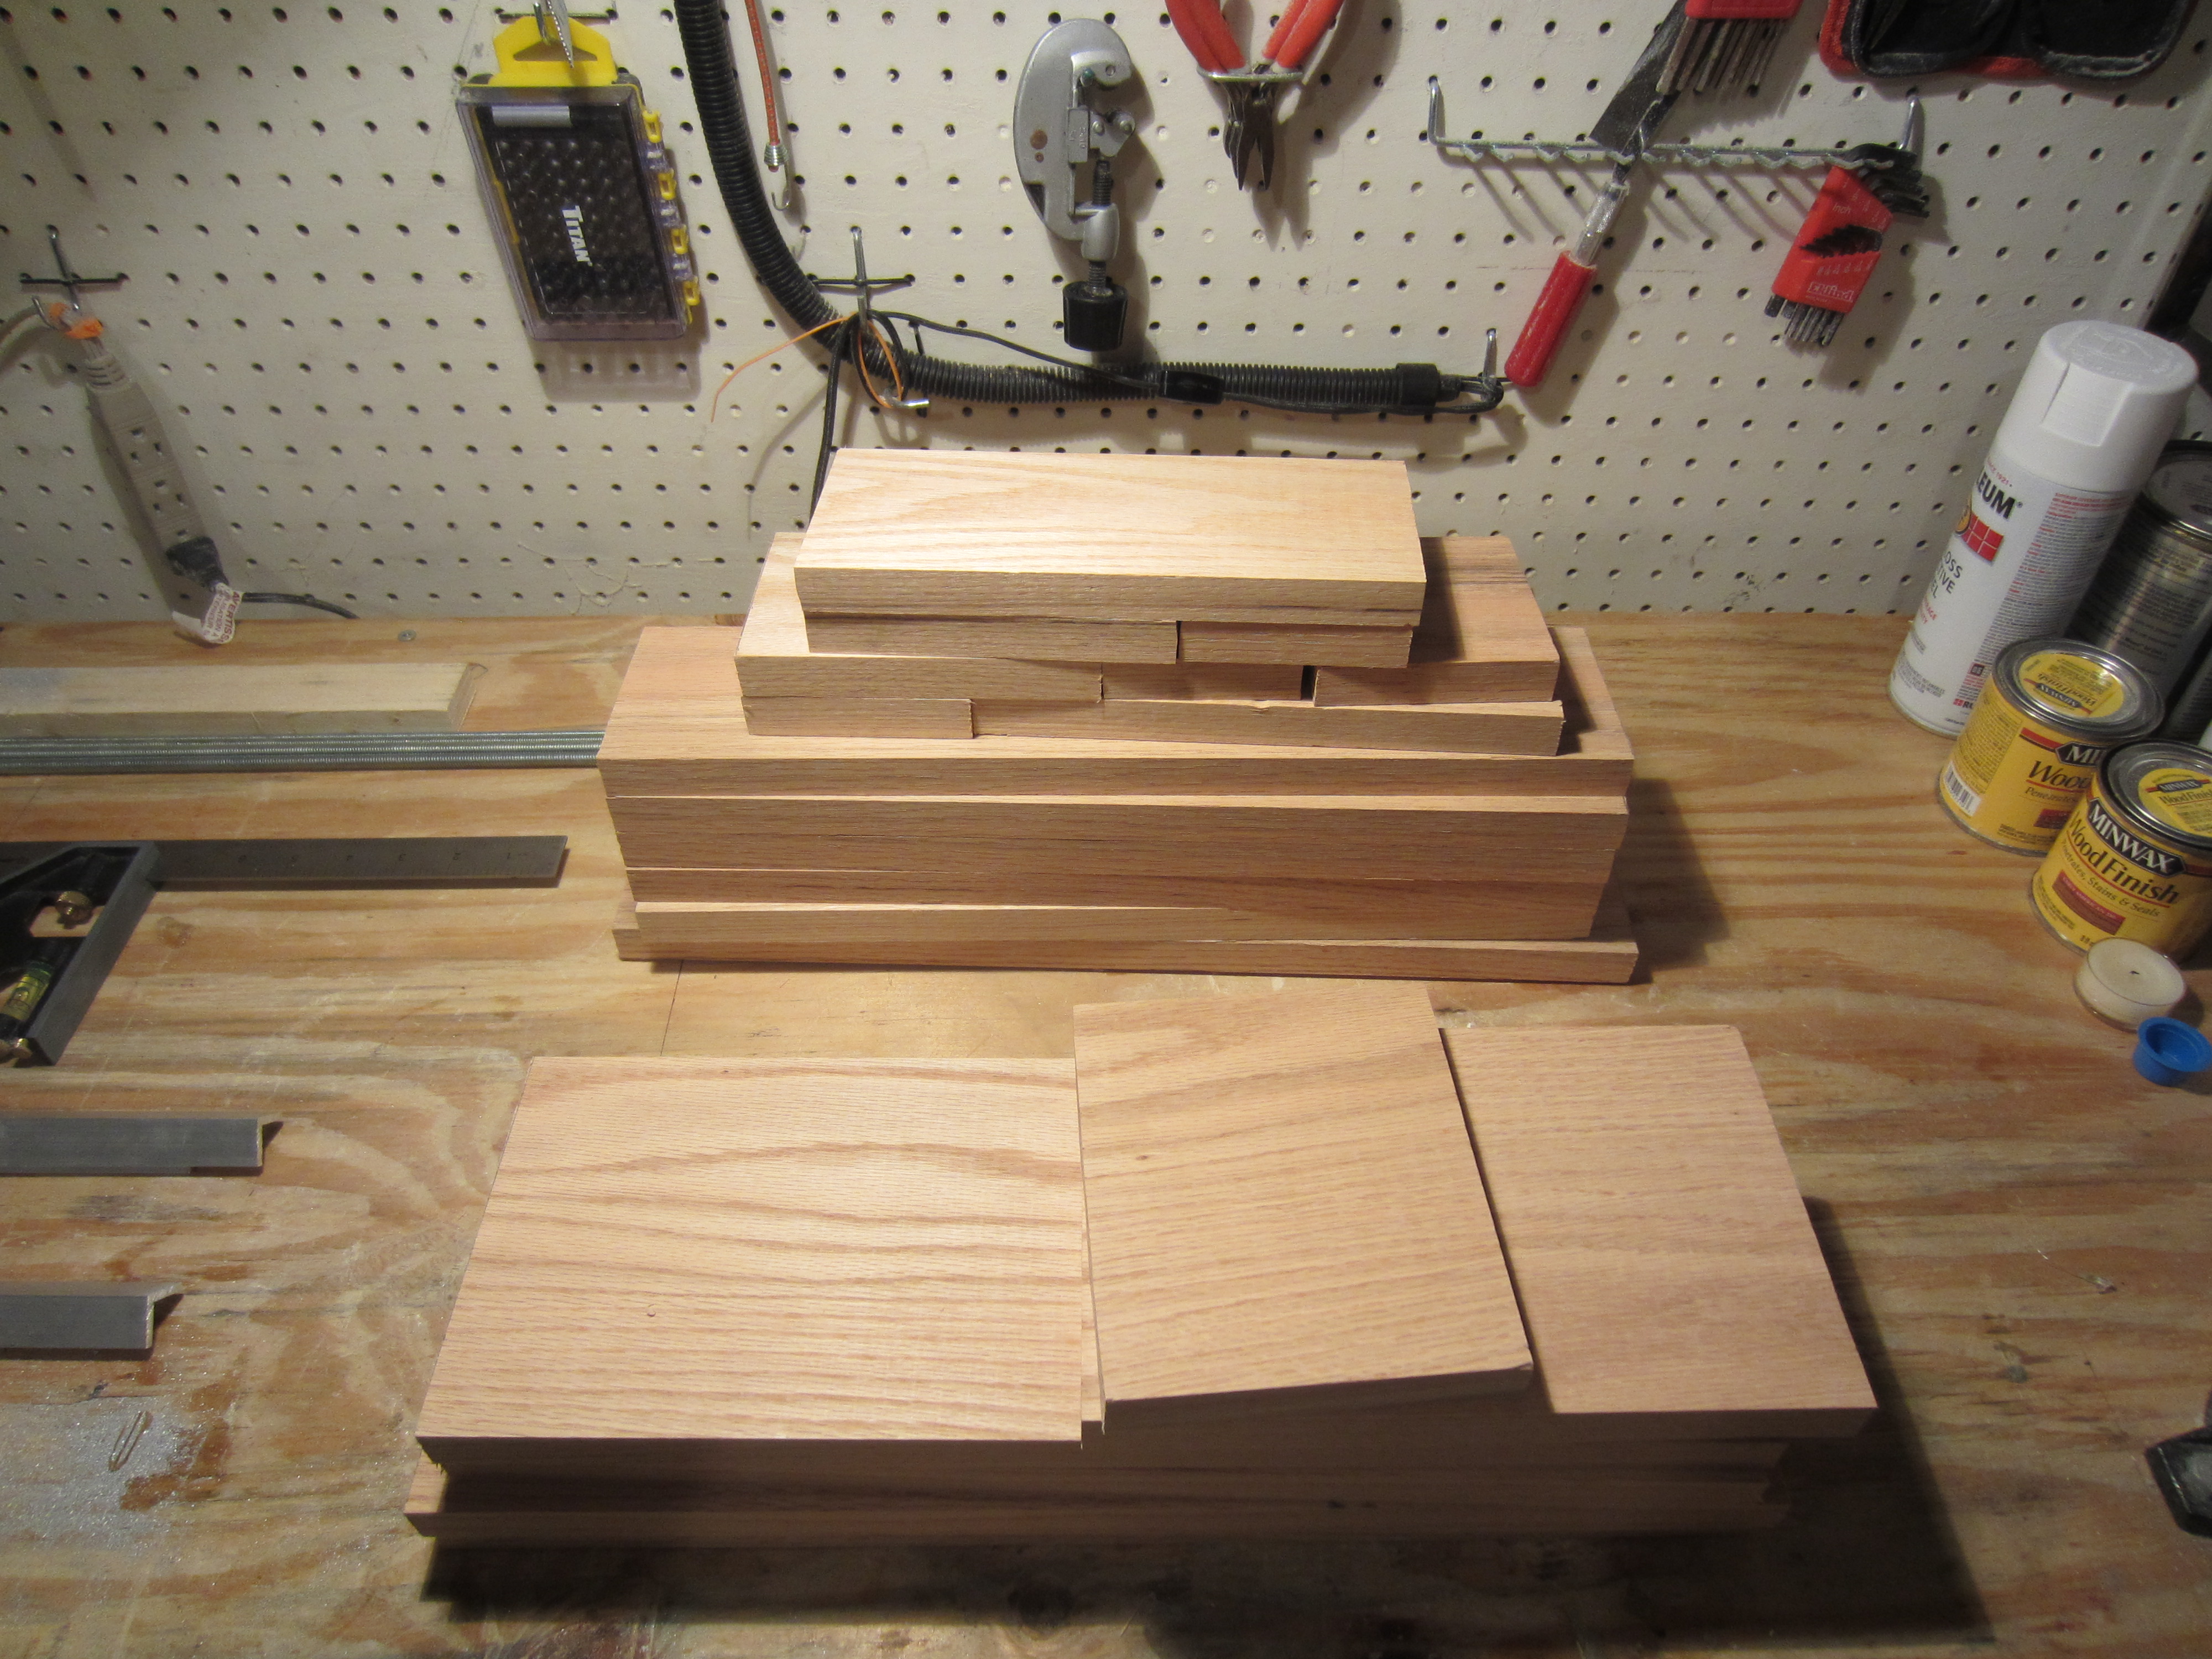
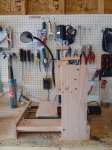
I acquired all the lumber and hardware from my local store. I chose to use Oak boards instead of the cheap Pine because it is stiffer. I think that this made my machine more rigid and improved my cuts. The initial lead-screws were just cheap threaded rod – now that the machine is working I will be upgrading to precision Acme threaded rods.
-

- Wood Cut and ready for assembly
-
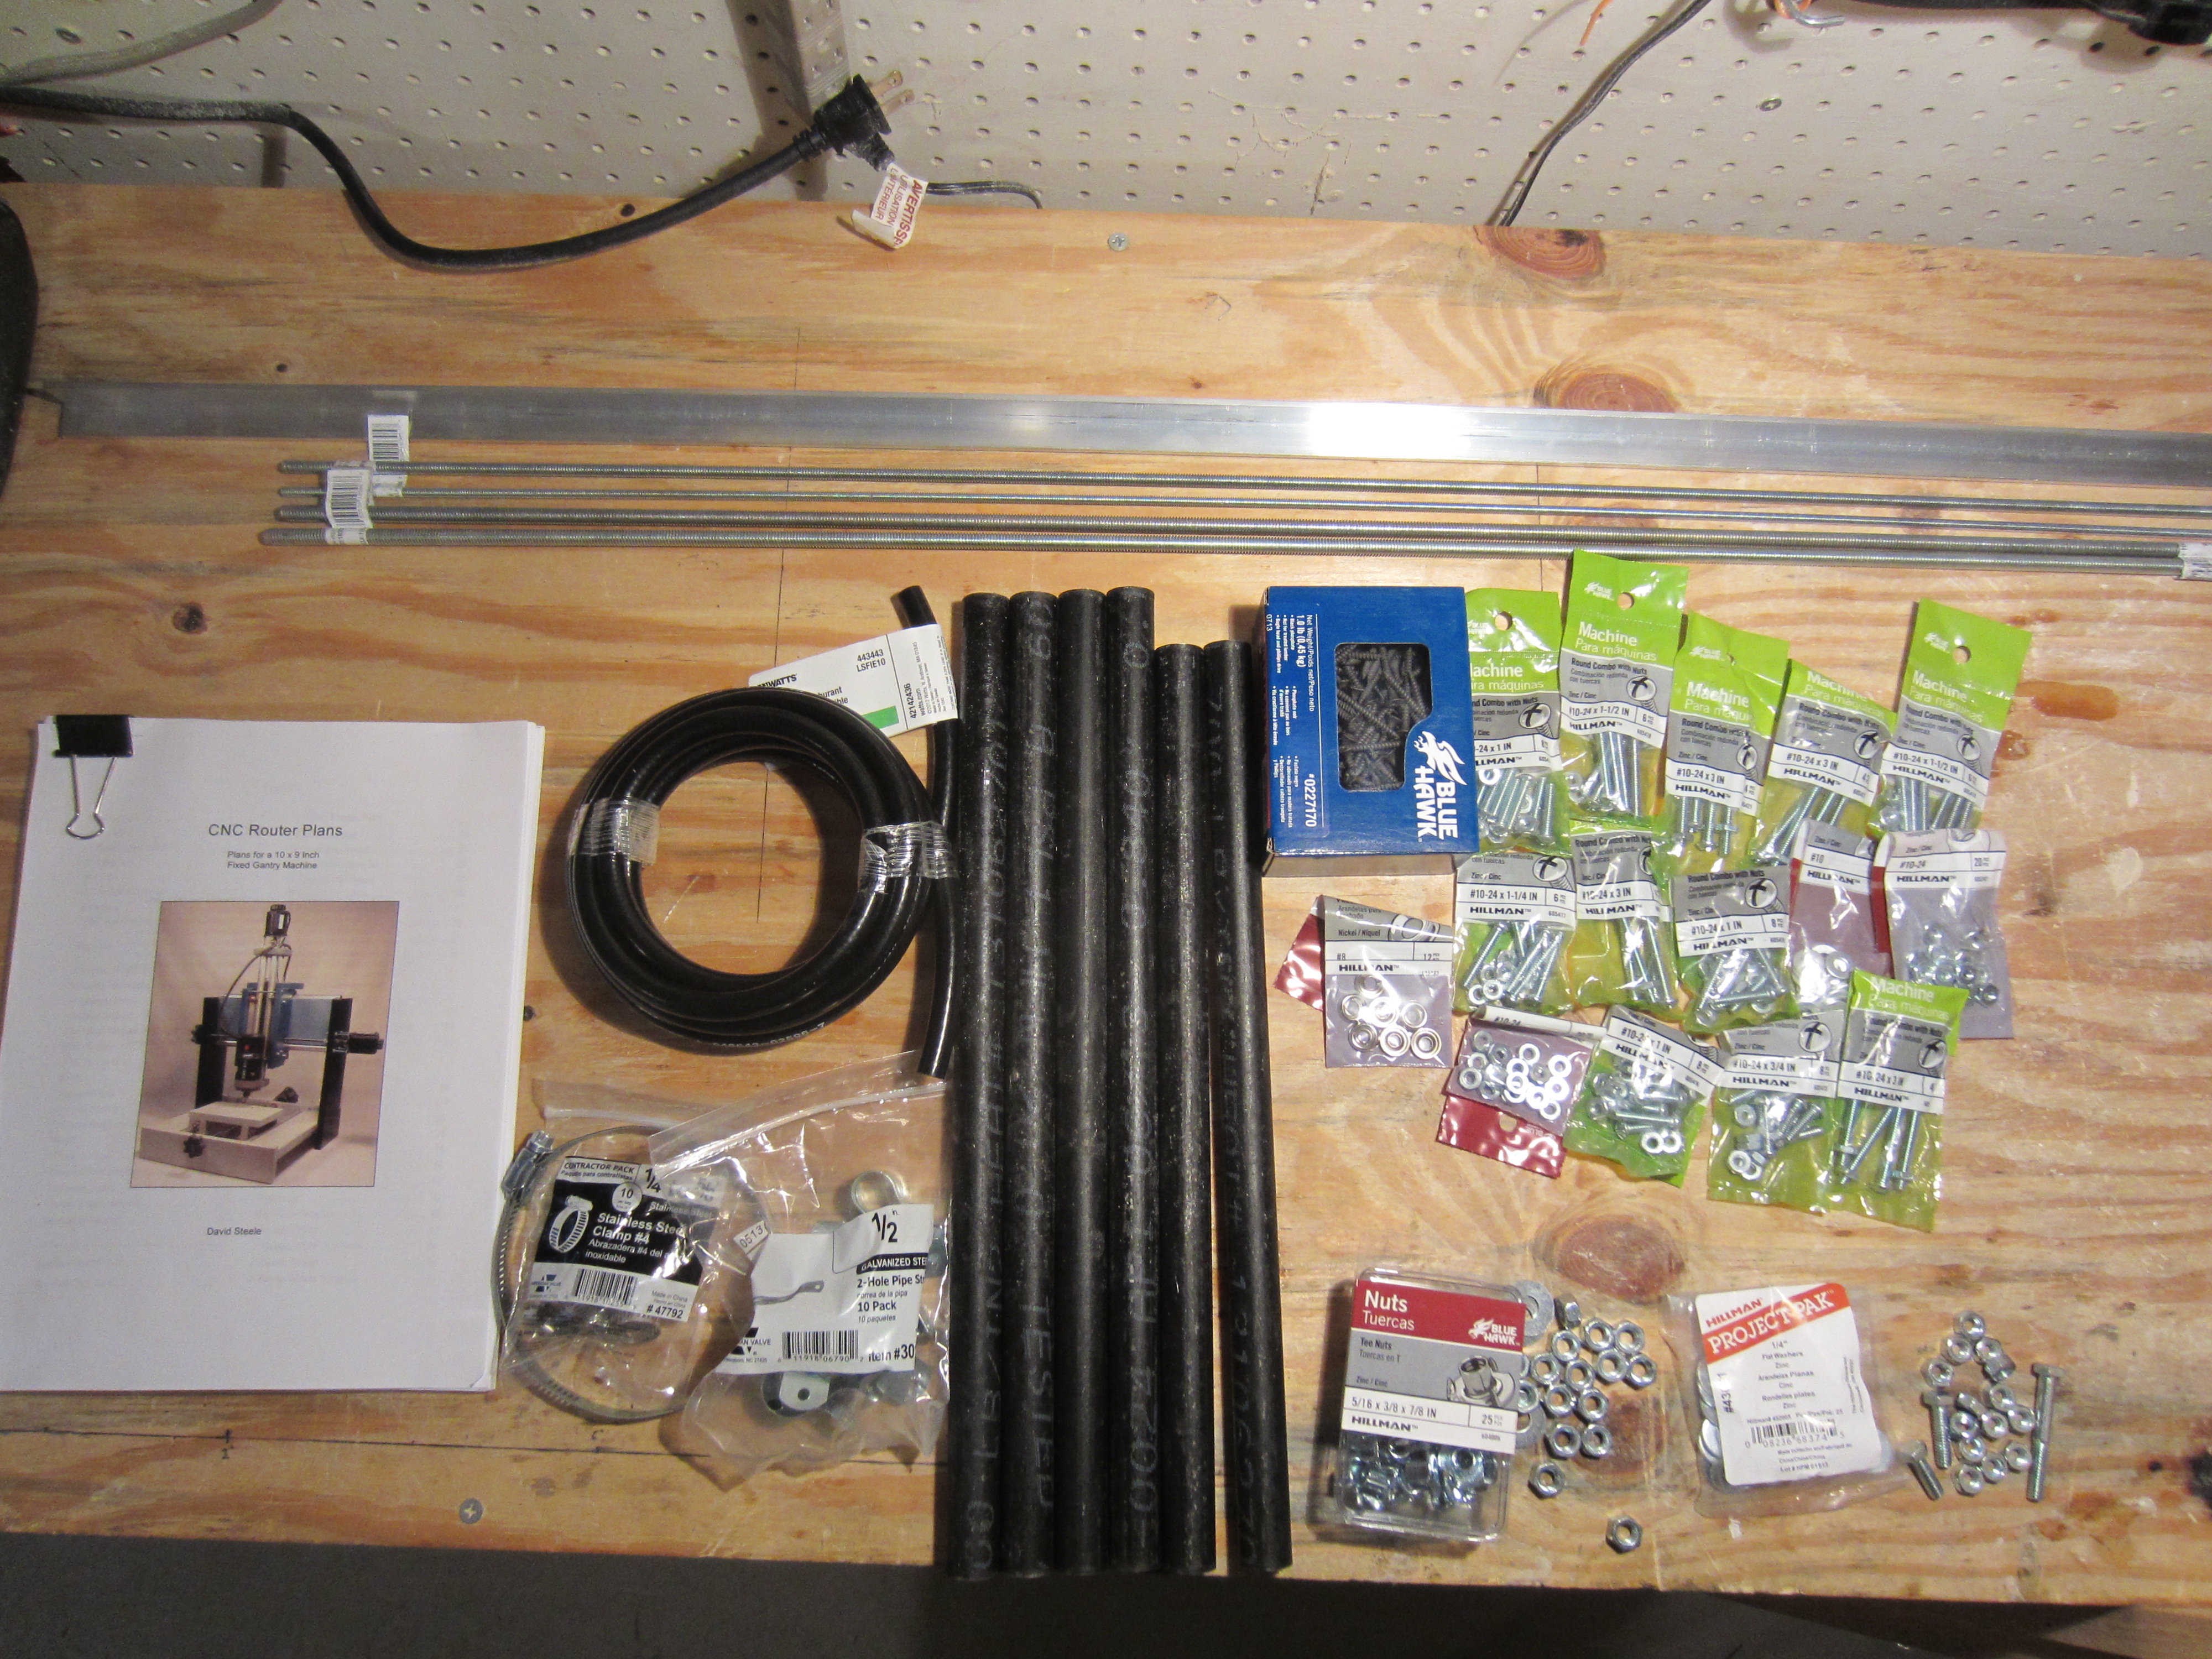
- Hardware
Day 2:
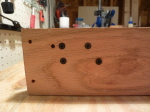
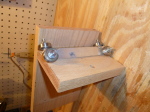
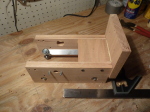
The first step was to assemble the six bearing trucks. There are two for each axis and are make out of aluminum angle with skate bearings that will ride on steel pipes. The first one had to be re-done but after the extra practice the rest turned out great. In the process I broke two drill bits… I need to make sure I buy quality bits in the future. The bearing trucks are adjustable, for initial sizing each truck has 1/32″ clearance between the aluminum angle and the pipe.
Day 3:
Spent most of the day drilling holes in my lumber, It took a lot longer than I expected!
Day 4: Assembly Begins
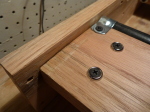
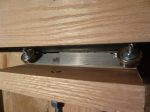
Built the base (Y-axis) of the machine. My cuts were not as accurate as I had hoped and because of this the base was racking/twisting when I glued and screwed it together. I had to re-drill a few holes to get the base square and parallel. It isn’t perfect but it is as close as I can make it. The plans only call to clamp the pipe at the ends of travel (2nd picture) but I glued the pipe to the frame over the entire length – I’m doing everything I can for a little extra rigidity.
-
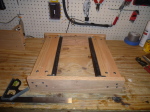
- Completed Y axis/Base
-
- Poor Cuts created a gap
-
- Close up of front – some holes had to be re-done
Day 5:
Assembled the Y table bed. I should have followed the instrustions better, the Y trucks were supposed to have 1/16″ clearance between the aluminum angle and the pipe, but I only had 1/32″ clearance. When I tightened the trucks agains the Y-axis the aluminum started gouging into the pipe. I took the table bed apart and ground down the aluminum angle as well as re-aligned the bearings. I re-assembled the table bed onto the base and it rolls smoothly along the length of the Y-axis.
-
- Table bed partially assembled
-
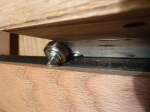
- Close up of truck rubbing on pipe
-
- Bearings have been re-aligned
-
- Table bed installed on Y-axis/Base
Day 6:
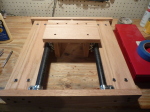
I assembled the X-axis carriage with learning from making the table bed. The bearing trucks have adequate clearance to the pipes. The X-axis gantry was also assembled onto the Y-axis/Base. According to the plans this is unglued at this stage so it can be adjusted later, this is important for future assembly and tuning.
-
- X Carriage
-
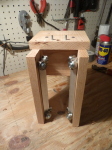
- X Carriage with Z-axis bearing trucks installed
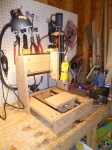
Day 7:
Long build day but it is starting to look like a proper CNC machine! The X-axis carriage is installed on the gantry and the Y and Z stepper motors have been installed. The stepper motors have not been aligned yet, that will happen once I have all three motors installed. All my electronics came from CNC Router Parts. I am using 320oz-in steppers along with a G540 controller, again it is overkill for this machine but I will be able to use these electronics in a future build.
-
- Starting to look like a real machine
-
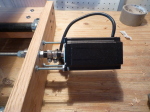
- Close up of Y-axis stepper motor
-
- Side view
-

- Front View
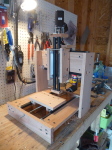
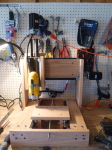
Day 8: Final Assembly
The x-axis stepper and spindle was installed which completed the machine assembly. Next up was tuning all the axis and making sure each axis was square. The instructions for this process were easy to follow and after a couple hours the machine was running well enough. There was some screeching on both the X and Y axis, I solved this with dry lubricant from the hardware store.
-
- Completed CNC Machine
-
- Completed CNC Machine
-
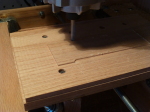
- First Cut – leveling table
-
- Closeup of initial surface finish